Posted on

DIY Hoophouse

I went on a tour with the Carolina Farm Stewardship Association last year.  They sponsor a three-day conference, in Durham, NC,  which I would love to attend in full, but I was able to go on a tour of hoop houses and farms.  I read many articles and books about farming, and people always talk about hoop houses, which are unheated greenhouses.  In our climate, people grow crops in them year round.  I was very interested to see beautiful tomatoes, unmolested by insects, disease, or weather, in November in the hoop houses.Building a “real” hoop house is not presently in my budget, so I came home and created a DIY version out of materials I already had at home.  Professional hoophouses, like these, are large structures in which people can walk around and trellis tomatoes.  I can’t walk in mine, but it should protect the lettuce plants.

I spread a piece of clear, heavy weight plastic on the ground.  I attached the metal rods on each long end with strings tied underneath.

I roll up the sides, as shown below, to ventilate the greenhouse.  In my climate, South Carolina zone 8, I leave the sides up most of the time, closing them only when severe winter temperatures threaten.

Sometimes, I roll down the sides but I leave the ends up.  This provides some ventilation but provides additional protection from cold temperatures.

I have not tried growing warm weather crops in this modified high tunnel.  Our summers are so blisteringly hot anyway I fear I would forget the plants for a morning and find them fried.  Because of the flimsiness of my construction materials, I couldn’t build it high enough to accommodate the growth of a mature tomato plant.
This is definitely on the realm of DIY structures and was, for me, free from materials I had on hand.
At the end of the winter, I found success in this DIY structure in starting seeds for transplant and for keeping the worst of the winter weather off my delicate plants.  A professional-grade hoophouse remains in my dreams but this will suffice for now!
Posted on

Build a Cold Frame and Harvest Vegetables All Winter

If the cold temperatures a few weeks ago damaged your garden
plants, perhaps it’s time for you to build a cold frame.  Because the runners of a nearby blackberry
bush scurried under the base of the cold frame and sprouted a new plant inside
the open box, and I procrastinated about removing it, I managed to plant my
cold frame just before the recent cold snap. 
However, the protective environment of the cold frame will cause the
seeds to germinate, and I’ll soon have happy lettuces and spinach for the rest
of the winter.
Unless snow falls or the temperature remains below freezing
all day, which rarely happens here in SC,  I open the cover of the cold frame every
morning.  Winter vegetables do not enjoy
temperatures much above 70°F;  think
about how easily your car heats to that temperature and beyond on an otherwise
chilly day if it’s parked in the sun. 
My cold frame

My husband and I made my cold frame, which is a box covered
with glass, with a discarded shower door. 
Any glass or Plexiglas door or window would work; the glass allows sunshine
and heat to reach the plants inside the cold frame.  If you were going to open the lid daily to
allow sunlight to reach the plants, even an opaque lid would work.  The plants will be fine in the shade for a
day or two if very cold weather threatens. 
After you raise the lid, make sure to attach it to the ground in some
way so that strong gusts of wind do not suddenly close it and shatter the
glass. 
We made the sides of my cold frame out of treated
lumber.  We caulked the joints and put
some weather-stripping along the top of the frame to prevent drafts.  The back of the cold frame is about 18 inches
high, and it slopes down to the front at about a 40-degree angle toward the
southern sky; the front is about 8 inches high. 
This slope is supposed to maximize the amount of captured sunlight.
If carpentry is not your forte, use stacked hay bales,
concrete blocks, or landscape timbers.  My
mother surrounded some of her vulnerable plants with black plastic bags full of
leaves and found they provided sufficient insulation to protect them from much
damage, especially if she draped a sheet of plastic over the top of the circle
of bags.  Plug as many cracks as you can.
Place your cold frame directly on the ground, fill your cold
frame with compost-enriched soil, and plant the seeds or transplants.  Because of the greenhouse-like moist
environment, seeds sprout quickly and are the most economical choice.  Water the soil when it begins to dry out and
fertilize the plants as you would in your garden. 
The best plants for a cold frame are lettuces, spinach,
collards, and other cool-season greens. 
Carrots, beets, and parsnips also like the protected environment.  Depending on your cold frame’s interior
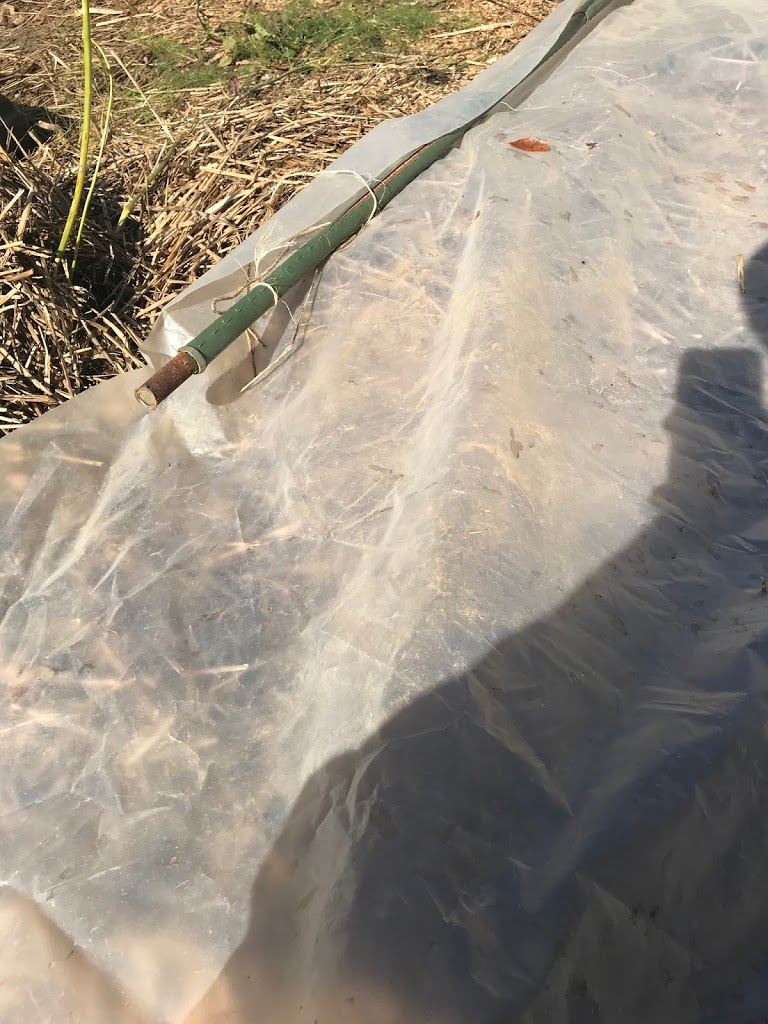
height, you might also be able to grow broccoli, cauliflower, and cabbage.  This winter, I am growing broccoli inside a
cold frame without a lid, because it shattered in a wind gust, and I am
protecting them with a sheet of plastic.
Gardening supply companies carry prefabricated cold frames; harvesting
your own salad greens instead of buying them will offset the purchase price
quickly.
 

Posted on

Build a Cold Frame for Ongoing Winter Harvest


Although they have not need its protection yet this winter,
my lettuces and spinach are happily growing inside the cold frame while we wait
for cold weather.  I planted them inside
the box in September with the lid open so the warm weather did not roast them.  Now, when freezing weather threatens, I can
close the lid to the box in the late afternoon, the glass lid will hold the
heat inside, and I will have fresh greens the next day that are unharmed by
frost. 

My husband and I made my cold frame cover from a discarded
shower door.  Any glass or Plexiglas door
or window would work; the glass allows sunshine and heat to reach the plants
inside the cold frame.  My shower door
came with the hinge attached which we use to open and close the frame.  If yours does not have a hinge, you could
slide it up and down as needed and prop it with a stick; a covering that is lightweight,
like Plexiglas, would probably be the best choice.  When the lid is raised, make sure to attach
it to the ground in some way so that strong gusts of wind do not suddenly close
it; the glass on one of my frames shattered last winter and I will have to
cover the frame with plastic this winter. 
Winter greens grow inside the cold frame

We made the sides of my cold frame out of treated
lumber.  We caulked the joints and put
some weather-stripping along the top of the frame to prevent drafts.  The back of the cold frame is about 18 inches
high, and it slopes down to the front at about a 40-degree angle toward the
southern sky; the front is about 8 inches high. 
This slope is supposed to maximize the amount of captured sunlight.

Options besides boards include stacked hay bales, concrete
blocks, or landscape timbers.  Plug as
many cracks as you can.  Gardener’s
Supply Company carries prefabricated cold frames; harvesting your own salad greens instead of
buying them will offset the purchase price quickly.

 Place your cold frame directly on the ground, fill your cold
frame with compost-enriched soil, and plant the seeds or transplants.  Because of the greenhouse-like moist
environment, seeds sprout quickly and are the most economical choice.  Water the soil when it begins to dry out and
fertilize the plants as you would in your garden. 

If the weather forecast is for temperatures in the high 40s
or above with sun, prop open the lid of your cold frame to vent excessive heat
that might burn the plants.  I have two
sticks, one to open the lid just a crack and the other to open it wide for
harvest and for very warm days.  If you
will not be home, prop the lid open a crack; they have a better chance of
surviving the cold weather we get than an afternoon in with temperatures in the
sixties closed inside the frame. Lettuce and spinach tolerate temperatures down
to the mid-twenties without harm in the open garden; I close my cold frame on
nights when the temperature dips into the low twenties and teens.   

The best plants for a cold frame are lettuces, spinach,
collards, and other cool-season greens. 
Carrots, beets, and parsnips also like the protected environment.  Depending on your cold frame’s interior
height, you might also be able to grow broccoli, cauliflower, and cabbage.  I also “harden off” transplants, or provide a
protected area outside for plants to become gradually accustomed to the
outdoors, before I set them out in the garden in the cold frame.
Happy salad greens

When you are home during the holidays, maybe you can find
time to make yourself or the gardener on your list a cold frame as a belated Christmas
gift.