Posted on 2 Comments

Rowcover laying is difficult enough…then just add kittens!

Our house is new, and so many people have been to the house to paint, complete projects, and work on things.  We have had to lock the kittens in the house so they don’t “help” the painters.  The kittens, rescued last summer from the Calico garden and tamed by my three children into loving creatures who seek the attention of people, behave more like dogs than any cat I have ever known.  They do seem to appreciate our rescue of them from the wild.

A couple of days ago, I worked in the garden putting down row cover preparing the plants for the upcoming cold weather.  Ashes and Phoenix chased me into the woods, climbing trees and stalking each other among tree trunks, when I entered to rake some leaves to put on the new asparagus and garlic beds, and they attacked my ankles as they hid in the cover crops.

As I spread the row cover over the broccoli, spinach, and kale plants to protect them from the cold weather, as well as the rain and the wind, the cats wanted to “help” me.  They are like helping children, in that their help is often a hindrance.  Here is a video of them not helping at all, but having a great time playing in the new tunnels I created with the row cover.

I created the structure of the tunnels by cutting some 12 gauge wire, available at home centers in the chain link fencing section, into hoops about 40 inches long.  If you cut them too long, they will flop over, and if they are too short, there will not be enough room for the mature height of the plants.

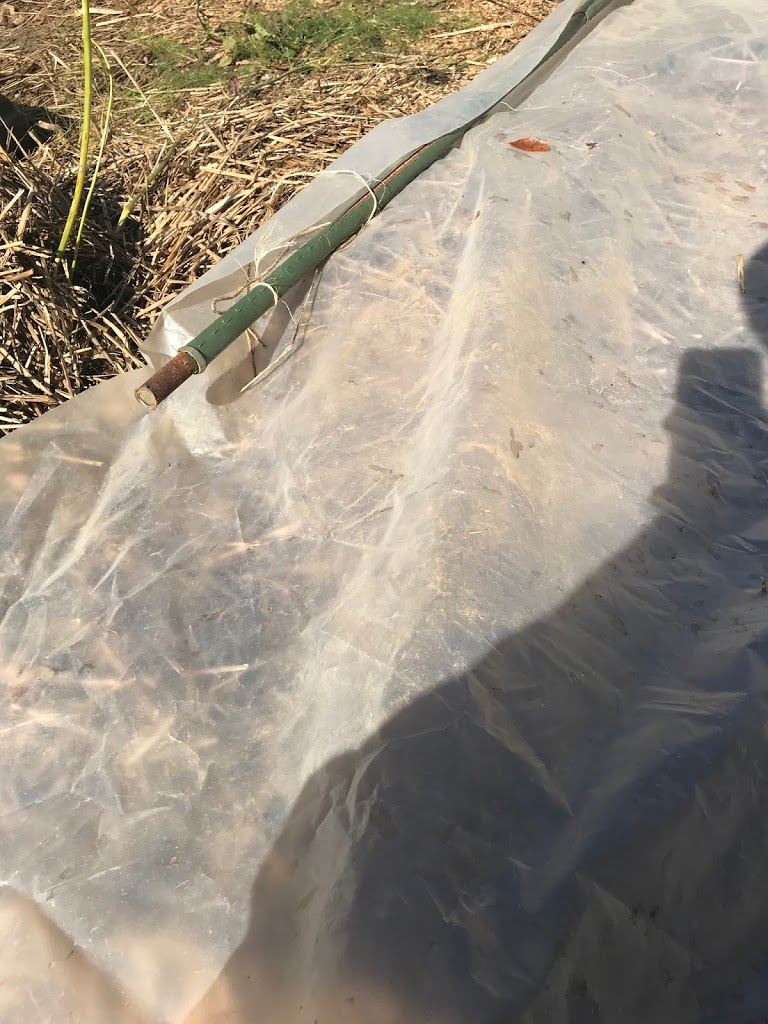
Then I draped the row cover over the hoops, and I secured it with clothes pins and with metal posts, stones, and whatever else I could find.  I need to work on more efficient ways to weight down the row cover.  You cannot cut the wire with ordinary wire cutters, although I have read that you can score them with a metal cutting tool and snap them.  I purchased bolt cutters  to make the job easier.

Row cover protects plants from freezing temperatures, and, depending on the weight of the fabric, may increase the air temperature around the plants by several degrees.  The fabric keeps torrential rain off of the plants, and it also prevents the desiccating effects of winter winds.  It almost gives your plants a mini-greenhouse environment similar to that of a cold frame, but the fabric allows enough heat to escape so you don’t have to worry about the odd sunny day roasting your plants the way you have to if they are covered in plastic.

Use some season extension techniques and harvest vegetables all year long!


Posted on

DIY Hoophouse

I went on a tour with the Carolina Farm Stewardship Association last year.  They sponsor a three-day conference, in Durham, NC,  which I would love to attend in full, but I was able to go on a tour of hoop houses and farms.  I read many articles and books about farming, and people always talk about hoop houses, which are unheated greenhouses.  In our climate, people grow crops in them year round.  I was very interested to see beautiful tomatoes, unmolested by insects, disease, or weather, in November in the hoop houses.Building a “real” hoop house is not presently in my budget, so I came home and created a DIY version out of materials I already had at home.  Professional hoophouses, like these, are large structures in which people can walk around and trellis tomatoes.  I can’t walk in mine, but it should protect the lettuce plants.

I spread a piece of clear, heavy weight plastic on the ground.  I attached the metal rods on each long end with strings tied underneath.

I roll up the sides, as shown below, to ventilate the greenhouse.  In my climate, South Carolina zone 8, I leave the sides up most of the time, closing them only when severe winter temperatures threaten.

Sometimes, I roll down the sides but I leave the ends up.  This provides some ventilation but provides additional protection from cold temperatures.

I have not tried growing warm weather crops in this modified high tunnel.  Our summers are so blisteringly hot anyway I fear I would forget the plants for a morning and find them fried.  Because of the flimsiness of my construction materials, I couldn’t build it high enough to accommodate the growth of a mature tomato plant.
This is definitely on the realm of DIY structures and was, for me, free from materials I had on hand.
At the end of the winter, I found success in this DIY structure in starting seeds for transplant and for keeping the worst of the winter weather off my delicate plants.  A professional-grade hoophouse remains in my dreams but this will suffice for now!
Posted on

Tomorrow Night We’re Getting Some Real February Weather

…and I hope my garden survives.  It’s supposed to get down into single digits tomorrow night.  Yesterday there was freezing rain and we had no electricity for 7 hours, and today the wind blew hard enough to slam car doors.  However, all my row covers remained in place thanks to clothespins, wire on top of the covers, and boards weighting down the sides.  I have baby broccoli plants under two layers of row cover.  I also have 14 pounds of potatoes planted a couple of inches deep.  I hope the plants survive this weather!

For my chickens, who live in a chicken tractor, I laid a combination of blankets and siding against the screened sides of the chicken tractor and weighed them down with sticks and stones.  Adult chickens cope with the cold well (at least any cold we have here in South Carolina), as long as they have shelter from the wind and the rain.  The wild birds survive, and chickens who live outside all the time can survive too.  People who live in cold climates have coats and blankets filled with down, and chickens have their own layer of down growing next to their bodies.  It’s safer to allow them to cope with the cold than to put a heat lamp inside your chicken house–many people have lost both chickens and chicken house from fires begun by heat lamps.  It’s hard to keep heat lamps safe from birds that can fly.  

Posted on

A little New Year’s cheer and good luck

On this dreary January day, I thought you’d like to see these brave yellow flowers of the winter Jasmine that bloom throughout the coldest months of the year and remind us that spring will come.  Camellias and Mahonia are or are will soon bloom, adding more color and fragrance to the garden.  Ignore the dreary skies and visit the garden.

DSCN0074
DSCN0075
DSCN0077
Yesterday, my girls each found one four-leaf-clover, and combined with our black-eyed peas and collard greens, we are off  to a pleasant start to the new year.
DSCN0079
DSCN0080
Posted on

Build a Cold Frame and Harvest Vegetables All Winter

If the cold temperatures a few weeks ago damaged your garden
plants, perhaps it’s time for you to build a cold frame.  Because the runners of a nearby blackberry
bush scurried under the base of the cold frame and sprouted a new plant inside
the open box, and I procrastinated about removing it, I managed to plant my
cold frame just before the recent cold snap. 
However, the protective environment of the cold frame will cause the
seeds to germinate, and I’ll soon have happy lettuces and spinach for the rest
of the winter.
Unless snow falls or the temperature remains below freezing
all day, which rarely happens here in SC,  I open the cover of the cold frame every
morning.  Winter vegetables do not enjoy
temperatures much above 70°F;  think
about how easily your car heats to that temperature and beyond on an otherwise
chilly day if it’s parked in the sun. 
My cold frame

My husband and I made my cold frame, which is a box covered
with glass, with a discarded shower door. 
Any glass or Plexiglas door or window would work; the glass allows sunshine
and heat to reach the plants inside the cold frame.  If you were going to open the lid daily to
allow sunlight to reach the plants, even an opaque lid would work.  The plants will be fine in the shade for a
day or two if very cold weather threatens. 
After you raise the lid, make sure to attach it to the ground in some
way so that strong gusts of wind do not suddenly close it and shatter the
glass. 
We made the sides of my cold frame out of treated
lumber.  We caulked the joints and put
some weather-stripping along the top of the frame to prevent drafts.  The back of the cold frame is about 18 inches
high, and it slopes down to the front at about a 40-degree angle toward the
southern sky; the front is about 8 inches high. 
This slope is supposed to maximize the amount of captured sunlight.
If carpentry is not your forte, use stacked hay bales,
concrete blocks, or landscape timbers.  My
mother surrounded some of her vulnerable plants with black plastic bags full of
leaves and found they provided sufficient insulation to protect them from much
damage, especially if she draped a sheet of plastic over the top of the circle
of bags.  Plug as many cracks as you can.
Place your cold frame directly on the ground, fill your cold
frame with compost-enriched soil, and plant the seeds or transplants.  Because of the greenhouse-like moist
environment, seeds sprout quickly and are the most economical choice.  Water the soil when it begins to dry out and
fertilize the plants as you would in your garden. 
The best plants for a cold frame are lettuces, spinach,
collards, and other cool-season greens. 
Carrots, beets, and parsnips also like the protected environment.  Depending on your cold frame’s interior
height, you might also be able to grow broccoli, cauliflower, and cabbage.  This winter, I am growing broccoli inside a
cold frame without a lid, because it shattered in a wind gust, and I am
protecting them with a sheet of plastic.
Gardening supply companies carry prefabricated cold frames; harvesting
your own salad greens instead of buying them will offset the purchase price
quickly.